

Simple steps to color matching from screen to print
Windows 10/11 and macOS (Support the Apple M1 platform)
Windows V1.0.9 / macOS V1.0.9
{{title}}
We will notify you when we have more.
We will send you an email once the product become available.Your email will not be shared with anyone else.
Sorry, our store is currently down for maintenance.We should be back shortly. Thank you for your patience!
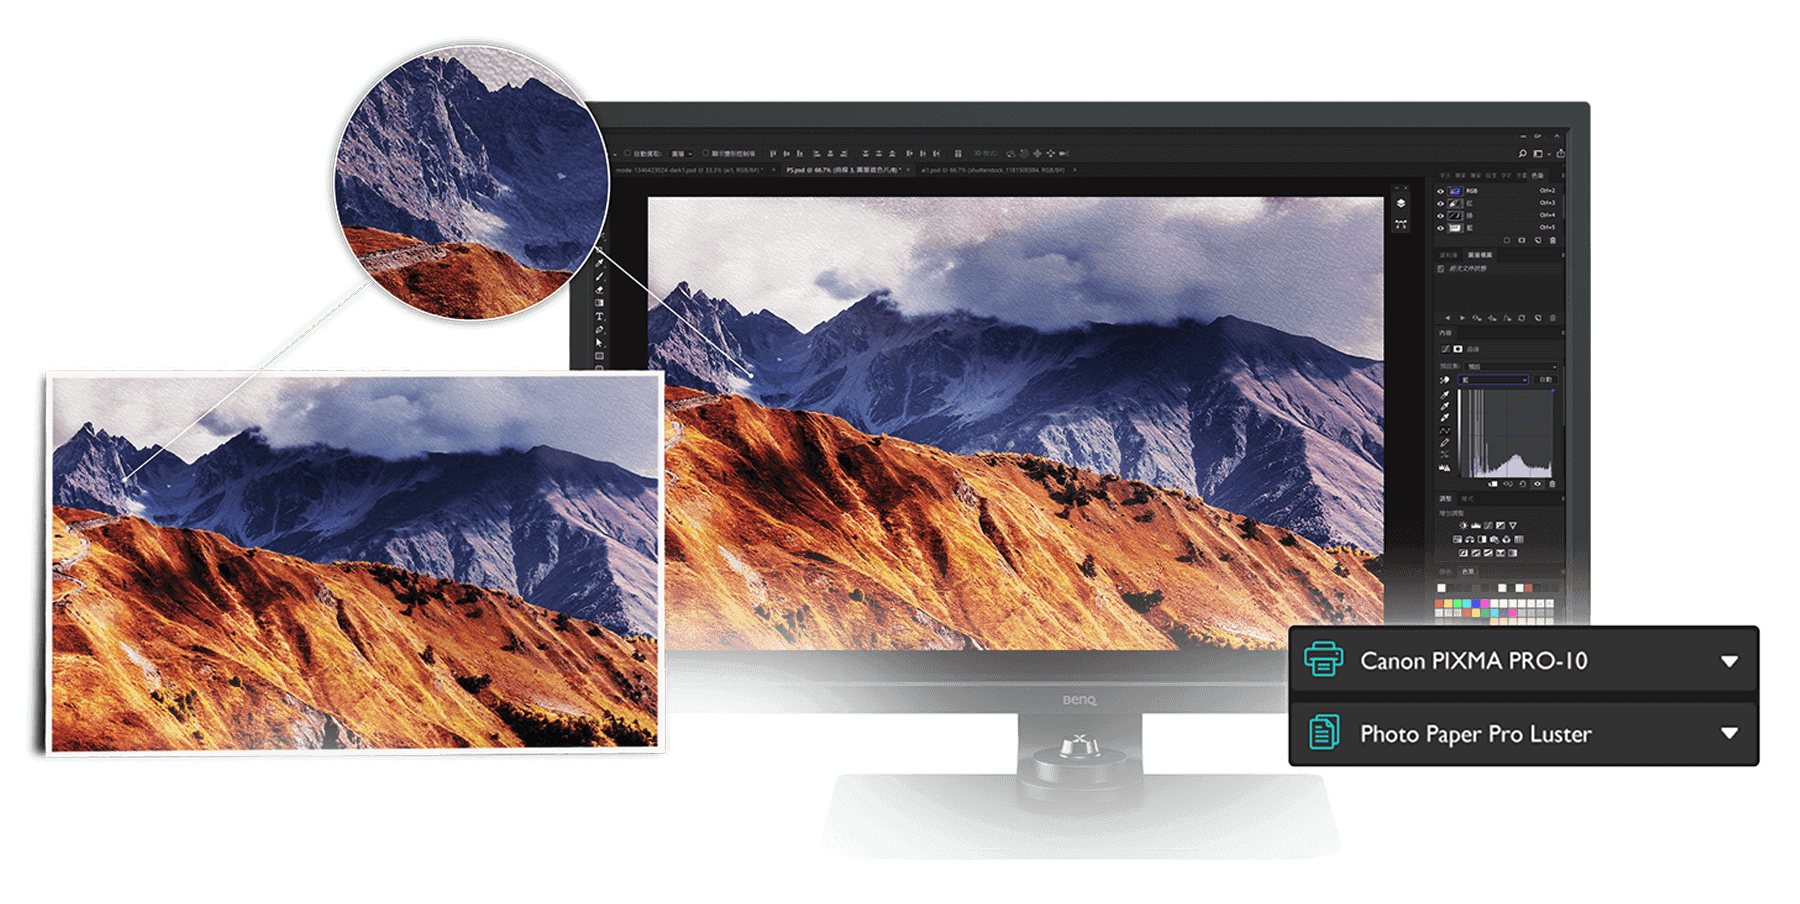
Paper Color Sync is the BenQ proprietary software to simulate the printing results. You can edit photos with efficiency and confidence in this time-saving screen-to-print process by selecting the color gamut, printer model and paper type to get an on-screen preview which faithfully reproduces the final color output.
*Using a shading hood will help decrease the influence of the ambient light.
*It's highly recommended finding a lamp which allows its users to change the color temperatures, such as WiT.
For more info, check the link here
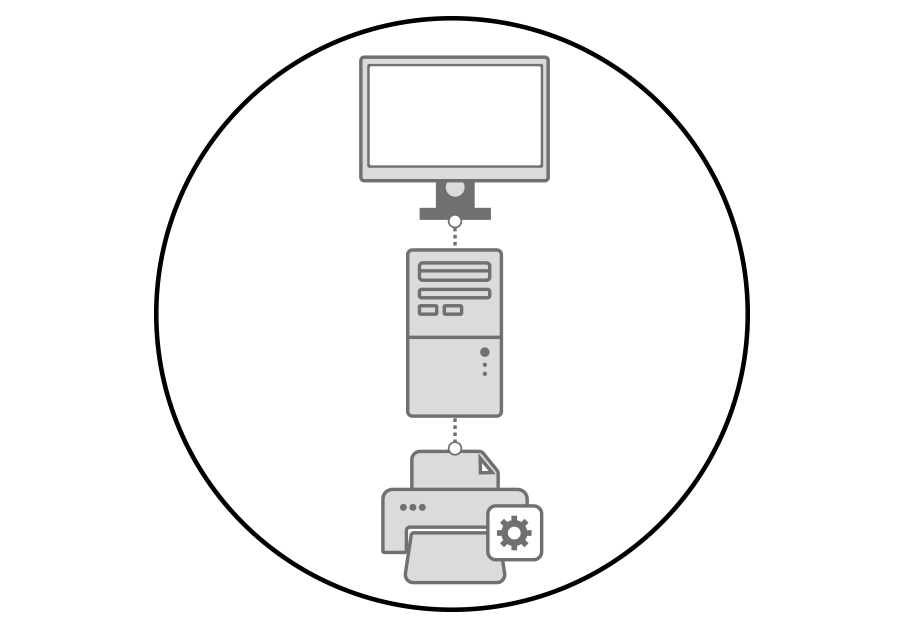
Make sure all the cables are connected and the printer driver installed
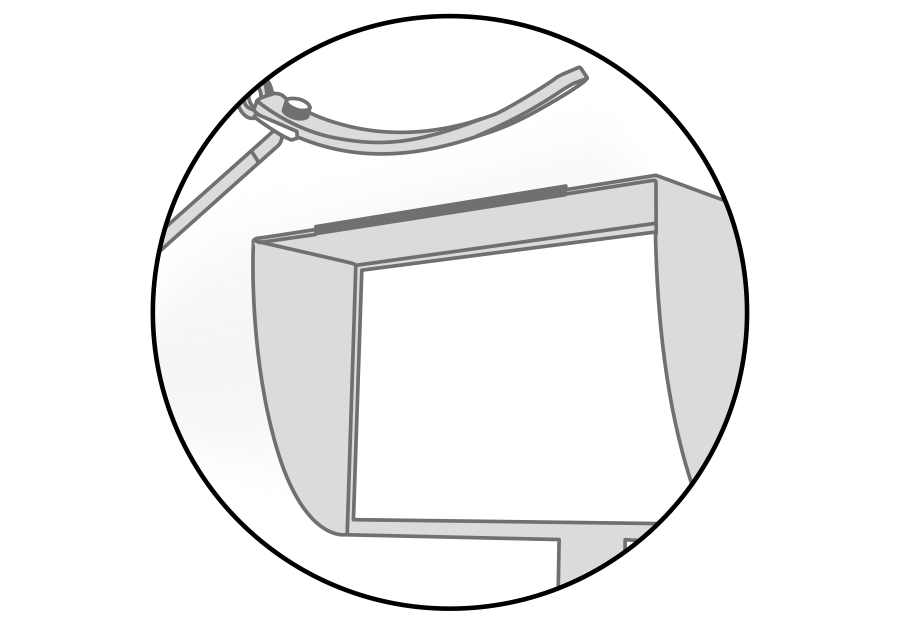
Control the ambient lighting conditions with the color temperatures. Make sure to check the printed hard copy with the color temperatures between 4500K-5000K
Start Paper Color Sync after download and installation.

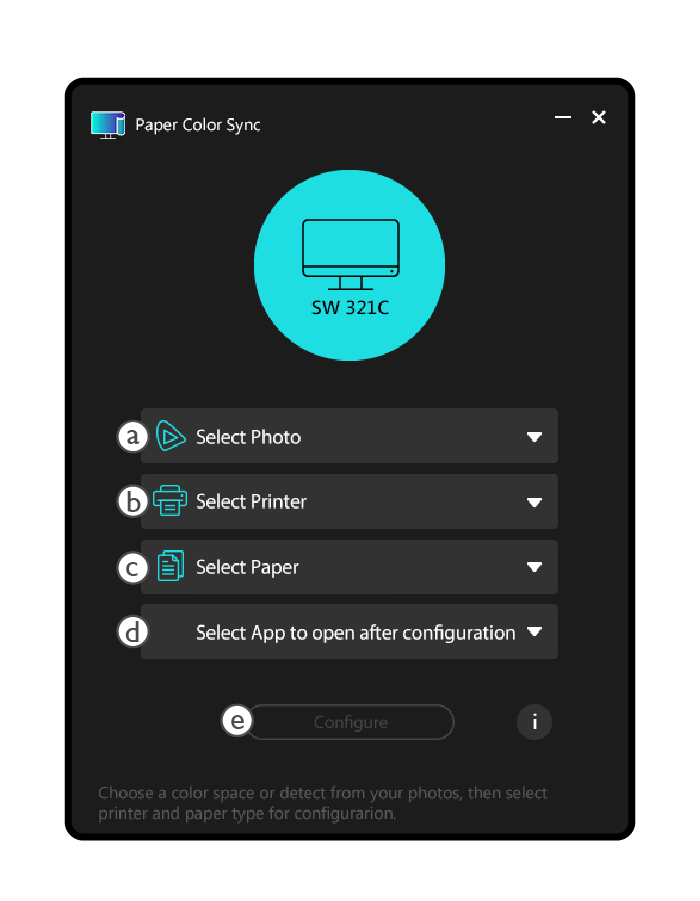
ⓐ Select the photo you’re going to retouch and the software will detect and select the color gamut for it.
ⓑ Select the printer model
ⓒ Select the paper type
ⓓ Select the retouching app
ⓔ Configure

ⓕ Once configured, your monitor will be switched to Paper Color Sync mode and the monitor’s color setting will simulate the final output.
ⓖ Start retouching your photo.
*Refer to User’s Manual for more details
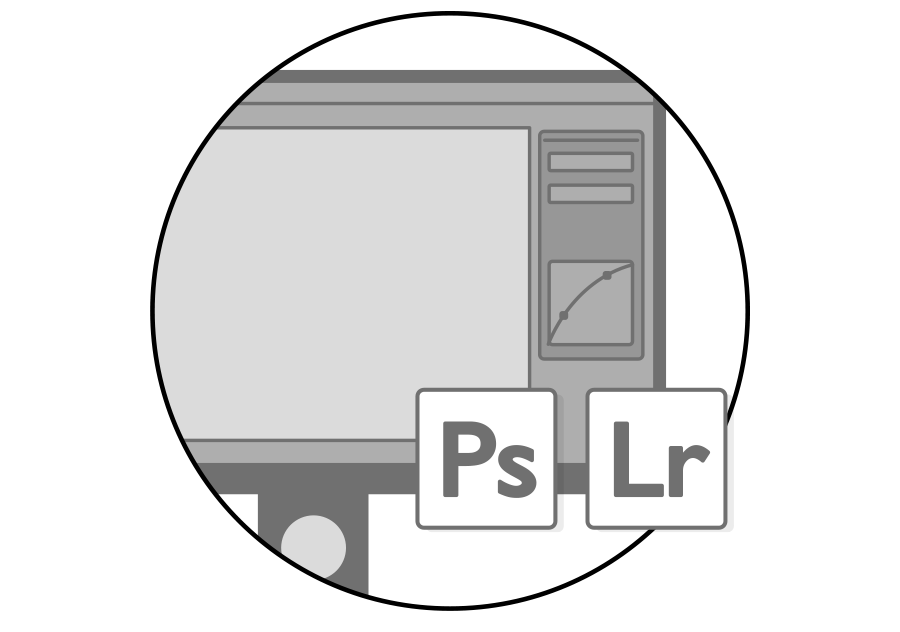
Retouch your photo with the selected retouching app.
*Refer to User’s Manual for more details
After retouching, check the color and ICC profile setting and then start printing the photo.
* For Lightroom Classic users, adjust color setting before print.
Match the Photo against the Monitor for comparison