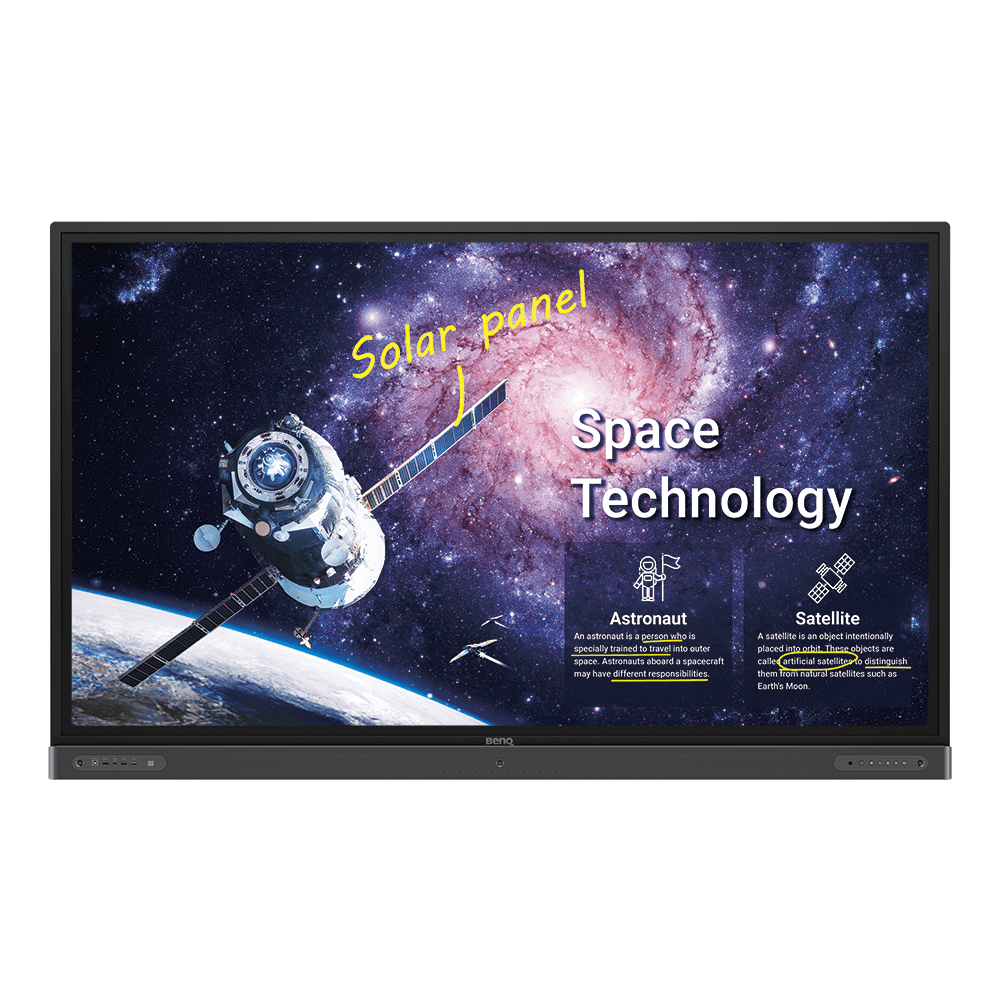
Learn what you need to prepare and what steps to take to connect with your remote students in engaging way with BenQ Interactive Displays
Search history
Clear
How to Connect Your Computer to a Classroom BenQ Board?
- Teacher Tips 'N Tricks
- Interactive Displays for Education
- 2022-03-04
If your school recently installed BenQ interactive boards, you may have some questions on how to make the best use of them, especially with regards to hooking up your laptop or maybe the class desktop PC.
Like all technologies, BenQ boards do have somewhat of a learning curve, but it’s not much of an obstacle and really nothing to worry about. To start with, think of BenQ boards as a large external display for your laptop. Also, with regards to interaction and input, interactive boards are as easy to use as smartphones and tablets, so there’s little reason for anxiety or concern.

To get started and become more familiar with the many helpful features of interactive boards, mirroring or sharing content from your computer to the board is a good option for getting in some practice, because it’s quite simple. Documents, apps, videos, images, website and any other type of content or resource easily mirror from laptop to interactive board with minimal effort and maximum visual impact.
Here is a helfpful step by step guide to get you going if you need extra support.
Choose your computer's operating system below:
- For Windows users
- For Mac OS users
Method 1: Wireless Mirroring
Most convenient option because you’re not tied down by cables and can move around the class with laptop in hand. Also offers the benefit of cutting down wire and cable messes.
Here are step by step video and a guide on how to start wireless mirroring in Windows 10 and Windows 11:
Step by Step Guide to Wirelessly Connecting a Windows Computer to BenQ Board
1. On the interactive board, go to apps menu, and click InstaShare 2
On the laptop side, you have two options:
Option 1: InstaShare 2 app
2. Download and istall the InstaShare 2 app to your computer (download here)
Alternatively, go to the InstaShare 2 app on the interactive board, click “Install app”, and type the displayed address into the computer browser’s address bar
3. Make sure that your Windows computer is connected to the same Wi-Fi network as the interactive board. The active network name is displayed on the board’s screen
4. Launch the InstaShare app on your computer
5. Enter the pairing code shown on the display and click connect or select the display name from the list, and tap “Mirror to display” to start sharing
Option 2: Miracast
2. Make sure that your Windows computer is connected to the same Wi-Fi network as the interactive board. The active network name is displayed on the board’s screen

3. Tap the Miracast icon on the board’s InstaShare 2 app

4. On your computer, click on the notification menu and then connect

5. Select the display from the list to start sharing (name is displayed on the board’s screen)
The InstaShare option comes with additional functionalities like an annotation tool and two-way touch, so you can control content via the interactive board
Method 2: Wired HDMI
Very traditional connection method that does have the downside of reduced mobility and increased cabling, but also the benefits of simplicity and the reliability of a physical connection. Furthermore, using a direct HDMI connection means you don’t need to download or setup apps, and even an internet connection is entirely optional, whereas it’s needed for wireless mirroring and casting between your computers and an interactive board. Just make sure you and the kids don’t accidentally trip over any cables!
Here is how to connect your computer to the BenQ board via HDMI cable, step by step:
Step by Step Guide to Connecting a Windows Computer to BenQ Board via HDMI Cable
1. Plug your HDMI cable into your computer's output HDMI socket (might be marked "OUT")
2. Plug your HDMI cable into your BenQ Board's input HDMI socket (you can find the number of the slot above the socket)
3. Set your computer's screen mirroring to "Duplicate" or "Extend"
4. On your BenQ Display, select the appropriate HDMI source number
That’s it!
Method 1: Wireless Mirroring
Saves you the hassle of cables running all over the place and messy wires. Also frees you from being tied to one spot, as you can move around the class with your Mac in hand.
Here’s a step by step video and a guide to wireless mirroring from Mac to BenQ interactive boards:
Step by Step Guide to Wirelessly Connecting a Windows Computer to BenQ Board

1. On the interactive board, go to apps menu, and click InstaShare 2
On the Mac side of things, you have two options:
Option 1: InstaShare 2 app

2. Download and istall the InstaShare 2 app to your Mac (download here)
Alternatively, go to the InstaShare 2 app on the board, click “Install app”, and type the displayed address into the address bar of a browser on your Mac
3. Make sure that your Mac is connected to the same Wi-Fi network as the interactive board. The active network name is displayed on the board’s screen
4. Launch the InstaShare app on your Mac
5. Enter the pairing code shown on the display and click connect or select the display name from the list, and tap “Mirror to display” to start sharing
Option 2: AirPlay
2. Make sure that your Mac is connected to the same Wi-Fi network as the interactive board. The active network name is displayed on the board’s screen

3. On your Mac, click on the AirPlay icon and select your display from the list (name is displayed on the board’s screen) to start sharing
The InstaShare option comes with additional functionalities like an annotation tool and two-way touch, so you can control content via the interactive board
Method 2: Wired HDMI
Very traditional connection method that does have the downside of reduced mobility and increased cabling, but also the benefits of simplicity and the reliability of a physical connection. Furthermore, using a direct wired connection means you don’t need to download or setup apps, and even an internet connection is entirely optional, whereas it’s needed for wireless mirroring and casting between your computers and an interactive board. Just make sure you and the kids don’t accidentally trip over any cables!
Some Mac models may require an additional dongle for you to be able to use HDMI, so make sure you have one.
Here is how to connect your Mac to the BenQ board via HDMI, step by step:
Step by Step Guide to Connecting a Mac Computer to BenQ Board via HDMI Cable
1. Plug your HDMI cable into your computer's output HDMI socket (might be marked "OUT")
2. Plug your HDMI cable into your BenQ Board's input HDMI socket (you can find the number of the slot above the socket)
3. Set your computer's screen mirroring to "Duplicate" or "Extend"
4. On your BenQ Display, select the appropriate HDMI source number
That’s it!
Extra Helpful Tips 'N Tricks
- Make sure all of your devices are connected to the same wireless network, lots of people overlook this and run into connectivity issues
- Always run the latest versions of all operating systems and apps. This includes BenQ’s own InstaShare app. You should be running the latest build of InstaShare 2. Here’s a video showing how to update to the most recent InstaShare version*
- Using InstaShare 2 on a BenQ interactive board, your students can display content you’re sharing on their own device screens. They can even annotate content and add remarks! We have a video dedicated to this neat trick
* Note about updates: InstaShare app update may not be available on certain devices. If you cannot update your InstaShare app, please contact your IT team to request an .apk file from directly from BenQ support for a custom install.
More than just screen extenders
While BenQ boards work great as big displays alongside your Windows or Mac PC, they do so much more and have the potential to truly revolutionize your classrooms in the best ways possible.
Check out our library of helpful articles for more interactive board tips and tricks and insights into their various functions and features.
Teacher Tips 'N Tricks
-
Trends & Knowledge
[Teacher Tips 'N Tricks] How to Use BenQ Interactive Display for Remote Teaching
2021.08.06 -
Trends & Knowledge
[Teacher Tips 'N Tricks] How to Connect Your Smartphone or Tablet to a BenQ Board?
See how to easily and conveniently connect your iOS or Android device like phone or tablet to the BenQ Interactive Display in 4 steps.
2022.03.04 -
Trends & Knowledge
[Teacher Tips 'N Tricks] 3 Stages of Smart Classrooms with Interactive Displays
Learn how to reach the maximum educational potential of your classroom with the help of Interactive Displays from BenQ
2021.07.30
Talk to an Expert
Get in touch with our team to learn more about our germ-resistant displays and our education solutions.