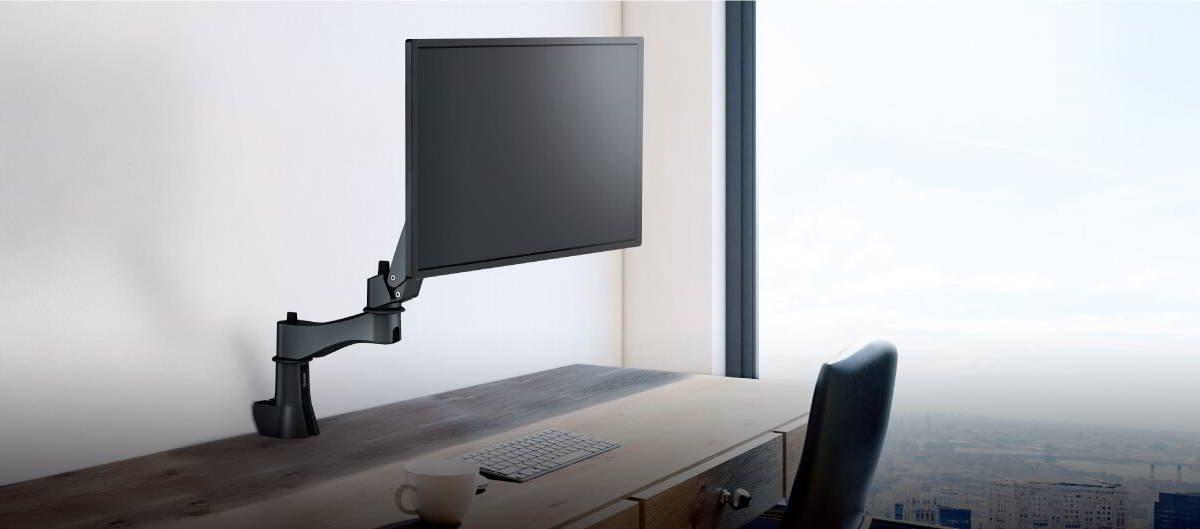

Most people find they’re happy with how their monitor came out of the box. The stand works great and sitting in front of the display feels fine. But some of us, especially more demanding gamers keen on ergonomic experimentation, may feel the need for the flexibility of a monitor arm. With such an add-on, your gaming monitor becomes adjustable in true 3D, and we don’t mean the graphics – we mean in actual life.

We have an article looking at VESA mounting standards, and you’ll need to learn about those if you want to get into attaching your gaming monitor to any kind of arm or other attachment type.
The benefits of doing this are immediately clear. While fixed monitor stands, even with tilt and height adjustment, are designed for the average person and cover most situations, they can’t compete with the nearly free-floating flexibility of a VESA mount. Once hooked up to a monitor arm, your gaming screen can be adjusted to almost any position and angle imaginable, depending on the design of the arm, of course. The boost to ergonomics is tremendous. Not just for neck and back comfort or eye strain relief, but also for things like glare avoidance and better shared viewing with other people. Certainly everything has pros and cons, but in terms of flexibility, a mounting arm totally transforms your gaming monitor.
Yes, there are several kinds of arm out there for your gaming monitor to snuggle up to. Fixed arms may be the simplest and therefore the thinnest, but they don’t offer as much flexibility. Very simple in design, fixed arms usually don’t allow any movement for your monitor, so they kind of defeat the whole boost to ergonomics we talked about before. They’re OK if you know you’ll be good with that specific position for your monitor, and work best when drilled into a wall. They’re also usually slim and unobtrusive. Not great for gaming monitors, these arms are the ones you see at your local dentist’s waiting room.
Tilting arms go one beyond fixed arms by allowing the monitor to move up and down. While not as liberating as full movement mounting arms, these do accommodate different height placements very well. So more people can comfortably view the monitor and make adjustments as needed. Most often found in work environments and offices, tilt arms typically also have rather simple and therefore slim designs that appeal to many people.
The next step up arrives in the shape of tilt and swivel arms. As the name implies, now you have nearly full movement support in that 3D space we described. But the more intricate design means these aren’t as thin, and they still need to be drilled to a wall so once you make that commitment they’ll stay there. Every time you want to move them, you’ll need to drill more holes. No one will thank you for the noise and the dust, we think.

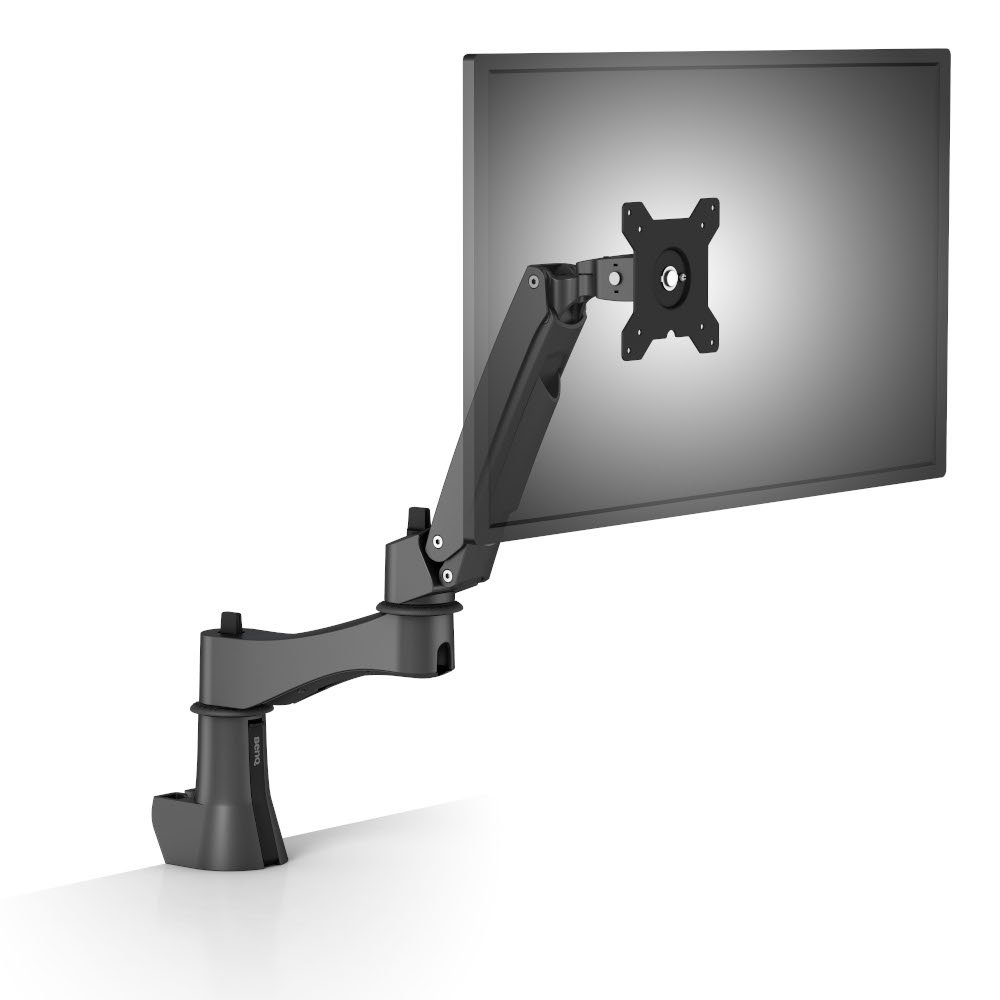
In our humble opinion, a full motion articulating arm is what gaming monitors need. No drilling into walls here. Standalone mounting arms attach, clip, or balance on desks and tables with ease, designed meticulously to support considerable weight and maintain secure balance.
Of course, they can’t be as slim as fixed arms because there’s so much more technology and material involved. But they look great and ooze sturdy strength, just look at the AS10 Arm we’re offering as a bundle with some of the finest gaming monitors in the world right now.
Autonomous mounting arms use multiple joints to offer total freedom of movement. Tilt, swivel, back, forth, up, down…if there’s a dimension, they’ll get your gaming monitor there. You can make minute changes to monitor placement or change it up completely. Collective viewing with other people becomes easy. Avoiding ambient light as the day goes on is effortless. This is it, mounting arm ergonomics don’t get any better.
As mentioned elsewhere, there’s a mild degree of DIY to mounting arms and all VESA mounts, in general. That is, unless you get someone to do it all for you! You will need to measure the mounting screw hole pattern on the back of your monitor, and also note the monitor’s weight as listed in the official specifications. Based on those, you can pick the right VESA mounting interface standard.
Wall mounting will require drilling and placing a mount adapter on the wall to which the arm will connect. Desktop mounting is much simpler. You’ll need common tools like a Philips screwdriver or hex keys. If you choose to go with the AS10 Arm all the tools you need will be included in the package.
In most cases, setting up a VESA mount for your gaming monitor takes 20 minutes at most, but the benefits last much, much longer. Just exercise basic DIY common sense and precautions, and have fun!